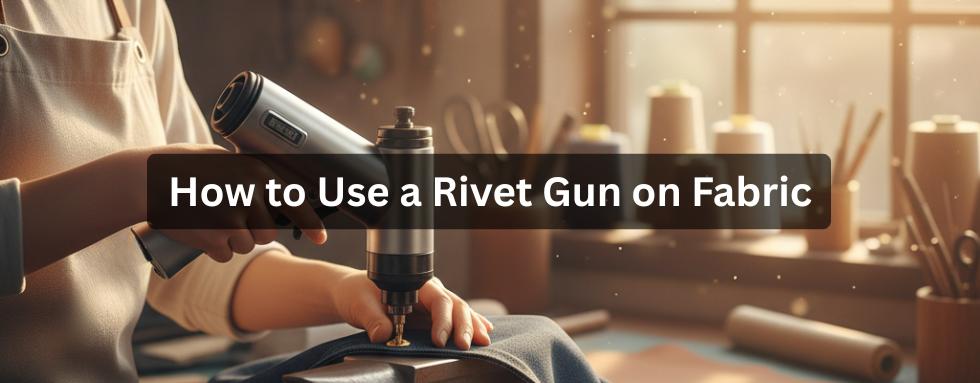
Using a rivet gun for fabric is a better choice than traditional setting tools because it ensures consistency, precision, and a better finish. This technique achieves a more reliable and aesthetically pleasing result.
Traditional setting tools rely entirely on the precise force and angle of a hammer blow hitting a small metal setter. This often leads to misaligned and crushed caps on fabric projects. A rivet gun, however, provides consistent, directed pressure.
1. What is a Rivet Gun?
A rivet gun is a tool specifically designed to set and secure rivets. It creates a permanent mechanical fastener, which is crucial for structural integrity.
It does the job by applying significant, controlled force to deform the rivet's tail end. This clamps the fabric materials together. In fabric work, its purpose is to provide a clean, secure attachment point.
Why Use Rivets on Fabric?
Better Function and Style
Rivets provide a connection that is both structurally strong and aesthetically pleasing. Traditional sewing methods often lack the structural strength and decorative appeal that rivets provide. They serve as hardware that not only secures the item but also decorates it.
Consistent Pressure for High Stress Areas
Rivets are good for reinforcing high-tension points on fabric items. Common examples include the handles of a heavy bag, the corner of a wallet, and the belt loops on jeans. These areas can have forces equivalent to hundreds of pounds constantly applied.
Reduced Chances of Failure
In high-stress zones, a simple line of stitching is prone to failure. For example, the threads can break, or the fabric can tear at the needle holes. However, a properly set, solid rivet provides a permanent, mechanical bond. It resists pulling and shearing forces, making joint failure highly unlikely.
Equal Load Distribution
Unlike a thread stitch, which concentrates stress along a thin line, a rivet distributes the load across a wider area of the fabric. The rivet's cap and post sandwich the fabric. It spreads the force across its surface rather than allowing it to pull directly on the small holes. Ultimately, it significantly increases the joint's tear strength.
How Does a Rivet Gun Work with Fabric?
A rivet gun works by applying pressure to the rivet parts. First, the rivet post goes through the fabric hole. Then, the rivet cap sits on the other side. The rivet gun's dies, or specialised parts, hold both the cap and the post. Next, you squeeze the handle. As a result, the gun presses the two rivet pieces together with consistent, focused force.
This force causes the end of the post to flare out inside the cap. Consequently, this mechanical flaring creates a permanent, strong bond that secures the rivet to the fabric. Thus, the fabric is held tightly and professionally without damage.
2. Basic Understanding Rivet Guns and Fabric
If you understand rivet guns, you can easily choose the right tool based on the fabric type and thickness.
Types of Rivet Guns for Fabric
There are a few key types you prefer for fabric work.
Double-cap rivets
These are the most common for visible fabric work. They feature a decorative cap on both sides. They provide a smooth, finished look on both the front and back sides of your project. They are often brass, nickel, or antique bronze. They are the standard for how to use a rivet gun on fabric for accessories.
Single-cap rivets
They have a decorative front but a flat back. These are typically reserved for applications where the back side is not visible. Maybe it is inside a lining. The flat back reduces bulk compared to a double-cap.
Pop rivets/blind rivets
These are the type used specifically with a pop rivet gun. The rivet body expands blindly inside the material, providing a strong structural hold. They are generally made of aluminium, copper, or steel. In turn, they provide a strong structural hold and are sometimes used decoratively for an industrial look.
Decorative rivets
This category includes rhinestone, pearl, or studded options. Pure aesthetics. They often require specialised dies for a rivet press machine. This avoids crushing decorative features such as rhinestones or pearls.
Rivet Gun Sizing Guide On Fabric
Another key element is sizing. It is all about finding the perfect fit for your compressed material.
Cap diameter options
First, you need to match the cap diameter — 6mm, 8mm, 9mm, or 13mm —to the desired aesthetic. A larger cap diameter looks better on a wider strap. Choose smaller sizes for detailed work on smaller items, such as wallets.
Post/stem length selection
Next, you must select the correct post/stem length. The length determines how much material the rivet can hold. You will focus on post lengths of 6mm to 8mm, which are the most common for standard fabric projects. This length works for most medium to heavy fabrics.
Matching rivet size to fabric thickness
It is essential to match the rivet size to the compressed thickness of your fabric layers. A post that is too short will not be secure. A post that is too long will wobble and deform.
Calculating proper post length
To calculate the proper post length, compress all your fabric layers. Then, you should add 3-5mm to that measurement. That extra length is what is needed for the proper mushrooming of the metal—the part that gets crunched to secure the two caps. Here is the exact formula for a perfect set:
- Measure the compressed thickness of all fabric layers (T) in calculations.
- Add the necessary mushrooming allowance (M = 3mm to 5mm).
- Required Post Length (P) = T + M.
- Select a post length equal to or slightly longer than P.
Suitable Fabrics for Riveting
Rivets work best on sturdy materials. Therefore, the material must be able to withstand the forces exerted during compression.
Heavy-duty materials
You will focus on heavy-duty materials like heavyweight canvas, denim, leather, vinyl, and faux leather. These materials are sufficiently durable to withstand the hole punching and setting process. They withstand the hole punching and the setting pressure.
Medium-weight
Meanwhile, medium-weight fabrics like thick cotton or upholstery fabric are also suitable. But you would rather use a strong woven interfacing to reinforce them before setting the rivet. This prevents the rivet from pulling through the fabric layers.
Ideal thickness
The ideal thickness for a secure set is usually between 2mm and 4mm once the fabric layers are compressed. This provides enough material for the rivet to grip.
Materials to avoid
Materials to avoid are thin fabrics under 2mm. Unless they are heavily reinforced, setting a rivet in thin silk or lightweight cotton will just tear the fabric instantly.
3. Essential Tools to Use the Rivet Gun on Fabric
Start by gathering your gear. The right tool for the job saves time and frustration.
Manual Rivet Setter
This requires a setter tool. The manual setter tool features a concave tip. It also requires a flat or concave anvil system. The anvil provides a solid base for the strike. The anvil is key; it absorbs the impact and prevents the bottom cap from flattening. The system requires a hammer or mallet to strike the setter. It is recommended to use a 12 to 16-ounce hammer for setting metal rivets. A lighter mallet may not provide enough force for a deep, tight set on heavy leather. This is the most affordable option for beginners. It is good for those who only need to set a few rivets occasionally. It is best for occasional projects such as fixing a single joint corner.
Pop Rivet Gun
This tool is different. It uses a blind rivet. This is what a pop rivet gun is used for. The pop rivet gun operates using a spring and jaw mechanism. It pulls the rivet's central pin, or mandrel. This sets the rivet. The jaws grip the pin and pull it with immense leverage. The gun requires interchangeable pin dies or nose pieces. They must match the diameter of the pop rivet mandrel you are using. If the die is too large, the pin will slip.
Cordless Rivet Gun
This is the modern solution. Speed and high efficiency. This is what a rivet gun is used for. Lithium-ion batteries power the cordless rivet gun. This makes it completely portable. No cords to worry about. This makes it completely portable. No cords to worry about. It eliminates hand fatigue from manual squeezing. This is crucial when setting dozens of rivets in a single session. Your hands will thank you. This enables the faster installation of multiple rivets. The gun automatically performs the entire riveting process. Press the trigger to initiate the setting; this completes the action.
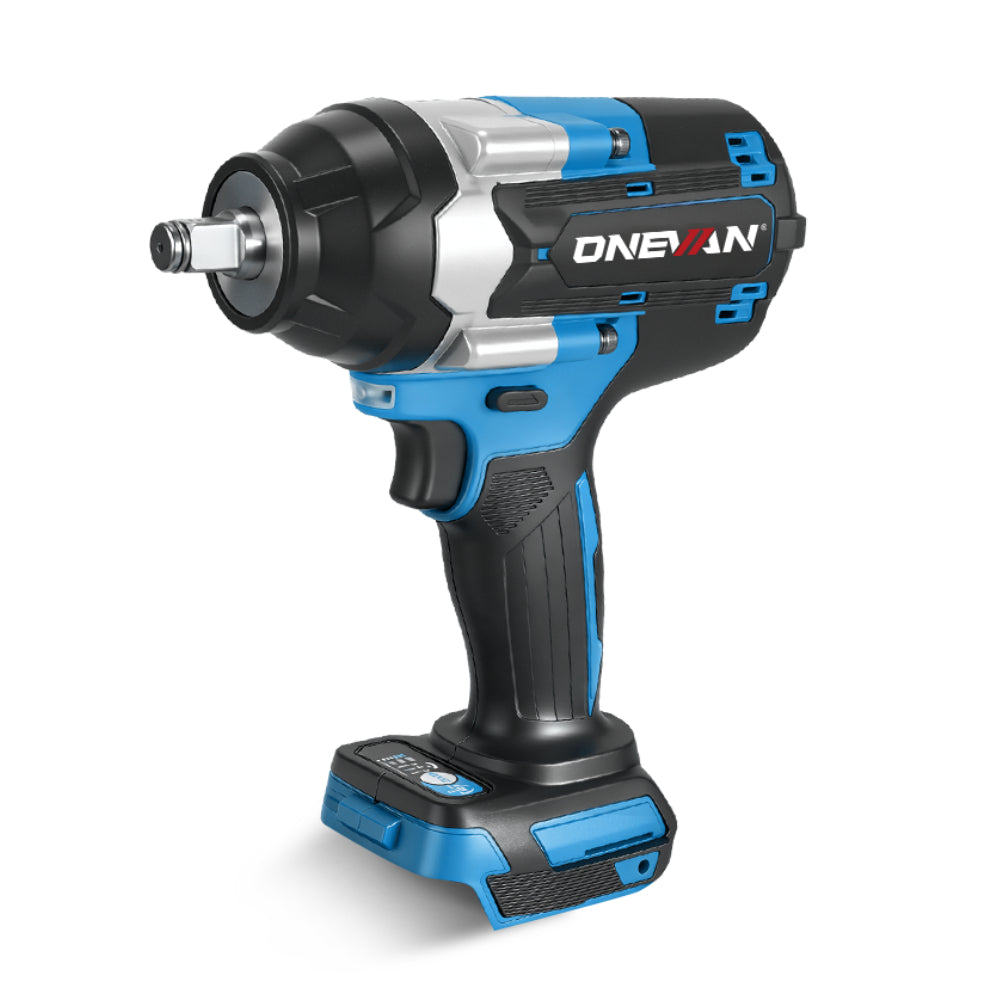
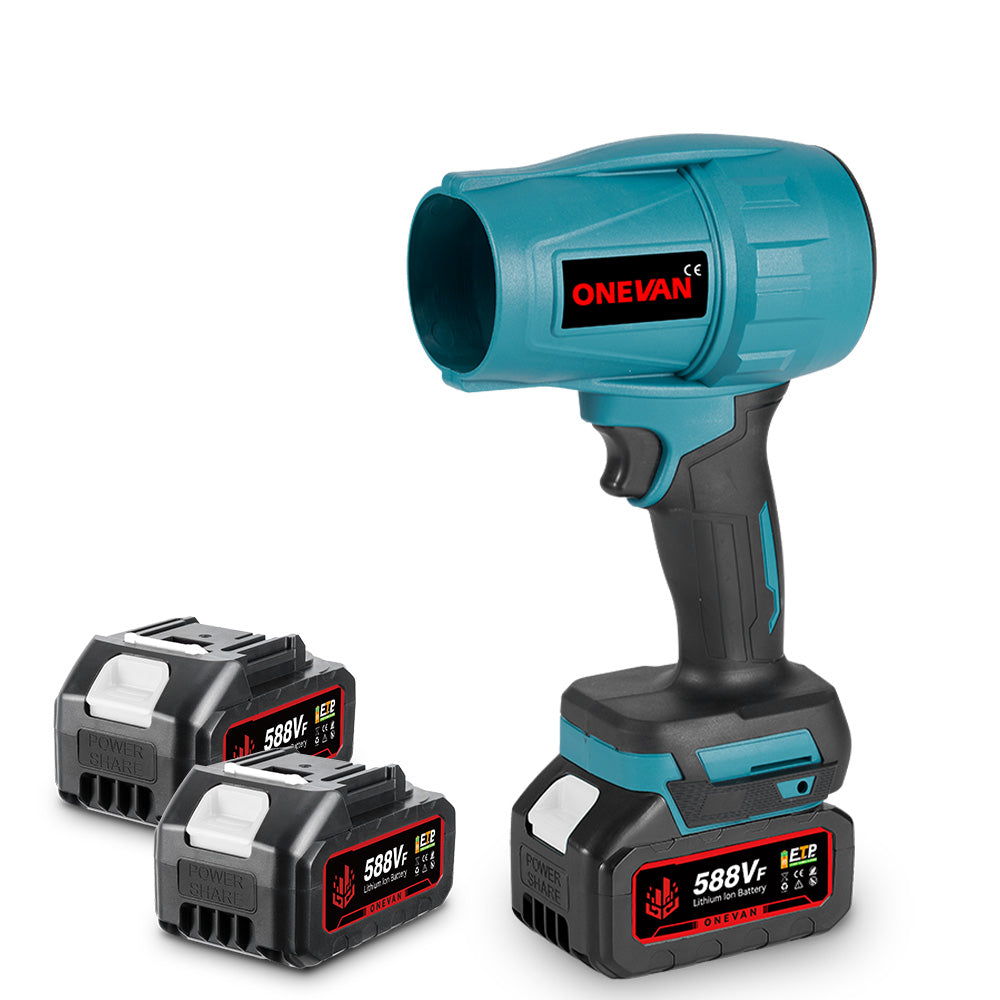
Higher-end cordless rivet gun, like ONEVAN 20000N Brushless Cordless Rivet Gun, feature adjustable power settings or stroke lengths. This is crucial. It allows you to fine-tune the pull force. This prevents over-compression of softer fabric.
Required Supporting Tools
You need these items before starting any project.
Hole punch pliers
Use hole punch pliers for clean, precise holes, especially in leather and thick vinyl. Always choose a punch size that is either equal to or slightly smaller (by 0.5mm) than the rivet post diameter.
Sewing awl
You prefer to use a sewing awl for lighter fabrics and woven canvas. It parts the threads rather than cutting them. This preserves the fabric's integrity, giving a stronger hold.
Hammer or mallet, 12 oz recommended
A good hammer or mallet is essential for manual setters. A 12-oz hammer is recommended for good balance. Use a rubber mallet for softer materials.
Concave anvil
This is mandatory for double-cap rivets. It protects the bottom cap. It prevents it from flattening when struck.
Cutting block
A heavy-duty plastic or rubber cutting block is necessary. It protects your work surface when punching holes.
Safety glasses
Safety glasses are non-negotiable. Protect your eyes from flying metal fragments, especially when striking metal with a hammer.
Measuring tools and a marking pen
Use a ruler or seam gauge along with a water-soluble marking pen to accurately position your rivets. Precision is key to professional results.
Material Preparation Tools Before Riveting
These tools help you manage the fabric before setting it.
Binder clips or fabric clips
Use binder clips or fabric clips to hold multiple layers of fabric securely together. Keep them aligned after the holes are punched.
Double-sided tape or rubber cement
A light application of double-sided tape or rubber cement can temporarily secure layers of leather or vinyl. This prevents fabric layers from shifting while you punch holes or transfer the piece to the anvil.
Sharp scissors for hole cleanup
Sharp scissors are useful for hole cleanup. Woven fabrics sometimes leave loose threads after punching. Trim these threads close to the edge of the hole.
4. Pre-Installation Preparation to Use Rivet Gun on Fabric
Preparation is critical to success. First, you need to get the practice in.
Practice on Scrap Fabric
- Do not ruin your project by skipping this step.
- Create test samples with scrap fabric
- Create test samples with scrap fabric before touching your final piece.
- Use the same fabric layers as the final project.
You will focus on ensure you use the same fabric layers as your final project. The thickness and texture must match your test.
Get comfortable with the tools before the actual application
Then, you should become familiar with the tools before using them on the fabric. Practice the swing of the hammer or the pull of the trigger. This practice helps develop muscle memory for efficient tool usage.
Test different rivet sizes
This is the perfect time to test different rivet sizes to find the one that sets the most securely in your specific fabric stack. Test a 7mm post alongside an 8mm post for optimal results.
Measure Fabric Thickness
Precision here determines a secure set.
Compress layers to the final thickness.
First, you need to compress layers to the final thickness. Use your fingers or a clamp. This gives you the working measurement. Do not measure the thickness when the fabric is loose.
Determine the appropriate rivet post length.
Then, use this measurement to determine the appropriate rivet post length.
Account for all fabric layers, including interfacing
Finally, make sure to account for all fabric layers, including interfacing, when measuring. Precision is crucial, as every millimetre can significantly impact the rivet's effectiveness.
Add 3-5mm extra for proper mushrooming.
You must add 3-5mm extra for proper mushrooming of the post. This ensures a tight, professional set with no wobble.
Mark Rivet Placement
Alignment is everything for a professional look.
Use a water-soluble marking pen.
Use a water-soluble marking pen or tailor’s chalk to locate the exact centre of the hole.
Test the marker on fabric scraps first.
You would rather test the marker on fabric scraps first. Ensure it is completely from your material. Avoid risking a permanent mark on your fabric.
Use the rivet cap to visualise the final appearance.
Then, you should use the rivet cap to visualise the final appearance. Check that the placement looks balanced. Lay the cap on the mark.
Ensure proper spacing and alignment.
Finally, make sure to ensure proper spacing and alignment between multiple rivets. Use a ruler and mark all spots at once before punching any holes.
Typical spacing: 2 rivets per handle end
For example, a typical spacing is two rivets per handle end on a handbag. Place them about 5mm from the edge. They should be set in a straight line or a slight curve, depending on the handle.
5. How You Use a Rivet Gun on Fabric
Basic Steps for Using a Rivet Gun: Punching a Hole in Fabric
First, you need to get a clean hole.
- Select the correct hole punch size. The hole should be the same diameter or slightly smaller than the rivet post.
- Place the cutting block under the fabric. This protects your punch and your work surface.
- Punch through all layers at once (if possible). Punching all layers together ensures perfect alignment.
- For lighter fabrics, use an awl to pry between threads. This preserves fabric strength.
- Clean up the hole with scissors if needed.
Position the Rivet Post
Then, you should assemble the rivet.
- Place the concave anvil on a solid, stable surface. Use the concave side to protect the cap.
- Position the bottom cap on the anvil (cap side down, post up). The post should be oriented vertically.
- Carefully align the fabric layers and then push the post through the hole. Gently thread it through.
- Work from the exterior to the interior of the project. This ensures the decorative cap faces outward.
Add Top Cap
Next, secure the assembly.
- Press the top cap onto the post until it snaps into place. You should feel a slight click or resistance.
- Ensure the cap is fully seated on the post. A gap indicates an issue with post length or a misalignment.
- Check alignment before setting. Make sure the top and bottom caps are perfectly concentric.
Set the Rivet
Finally, make sure to set it permanently.
- Place the rivet setter's concave end on the top cap. The concave tip of the setter protects the decorative rivet cap.
- Hold the setter straight and close to the base. Do not hold it near the top.
- Strike the setter firmly with 1-2 solid hammer blows. Avoid multiple light taps. One firm blow is often better.
- Work at counter height while standing. This allows for maximum downward force.
- Check that the rivet is secure and flush.
How to Use a Pop Rivet Gun on Fabric
This is the method for structural blind rivets. You can use a rivet gun on fabric.
Safety First
First, you need to prioritise safety.
- Put on safety glasses. Flying mandrels are dangerous.
- Work on a stable, protected surface.
- Ensure proper ventilation.
Prepare Fabric Layers
Then, you should get ready for the set.
- Punch holes in all fabric pieces.
- Align holes precisely.
- Secure the layers with binder clips to prevent any shifting during the process.
Load the Rivet
Next, load the tool.
- Insert the rivet into the gun with the pin toward the tool. The mandrel goes into the nose piece.
- Ensure the proper die size is installed.
- Check that the rivet is securely loaded.
Install the Rivet
Then, set the rivet. This is how to use a pop rivet gun on fabric.
- Insert rivet through aligned holes.
- Apply steady downward pressure on the fabric. Hold the gun perpendicular to the fabric.
- Squeeze the handle repeatedly (pumping action). The jaws will pull the pin.
- Continue until you hear a "pop" sound. This is the sound of the mandrel breaking.
- The pin will break off automatically.
Finish
Finally, make sure to clear the tool.
- Turn the gun over to release the broken pin.
- Smooth any sharp edges with sandpaper if needed. Aluminium rivets sometimes leave a small burr on the inside.
- Inspect both sides of the rivet. The expanded rear should look secure.
How to Use a Cordless Rivet Gun on Fabric
This method is for speed and consistency. It shows how to use a rivet gun on fabric.
Charge and Prepare Battery
First, ensure the power is ready.
- Fully charge the lithium-ion battery before use. A low battery results in a weak pull.
- Check the battery indicator light.
- Install the battery according to the manufacturer's instructions.
Select Power Setting
Then, you should adjust for material.
- Choose an appropriate power level for fabric thickness.
- Start with a lower setting for delicate materials.
- Increase power for heavy-duty fabrics.
Load the Rivet
Next, load the tool.
- Insert rivet into nose piece.
- Ensure the correct mandrel size is installed.
- Lock the rivet in position.
Set the Rivet
Then, you should activate the set.
- Position the gun perpendicular to the fabric.
- Press the trigger to activate the tool.
- The tool automatically pulls the mandrel and sets the rivet. The ONEVAN 2.4–5.0mm Cordless Rivet Gun Tool performs this cycle quickly.
- Release trigger when the cycle completes.
- Remove the spent mandrel from the collection chamber.
Monitor Battery Life
Finally, make sure the power on.
- Check the battery level indicator.
- Recharge when the power decreases.
- Keep a spare battery charged for continuous work.
How to Use a Rivet Press Machine on Fabric
This is the professional, consistent method.
Set Up Dies
First, you need to prepare the machine.
- Install appropriate upper and lower dies.
- Tighten the lower die securely.
- Adjust for rivet size.
Position Rivet
Then, load the rivet.
- Attach the rivet to the upper die. The cap is usually held magnetically or by friction.
- Place backing on the lower die.
- Check alignment.
Insert Fabric
Next, position the material.
- Place fabric layers between dies.
- Ensure proper positioning. The pre-punched hole should sit directly over the bottom cap.
- Hold the fabric steady.
Press the Rivet
Then, you should execute the set.
- Pull the lever down firmly.
- Apply steady, even pressure. Do not jerk the lever.
- Release the lever smoothly.
- Remove finished piece.
Pro Tips and Best Practices to Use a Rivet Gun on Fabric
Refined Manual Technique
- Work at counter height for better control. Your body weight helps stabilise the process.
- Hold the rivet gun close to the base. It will ensure vertical and direct force application.
- Apply consistent, directed pressure with the rivet gun. If using a setter, aim for 1-2 firm strikes rather than multiple light taps. It can work-harden and damage the metal.
- Keep the tool perfectly straight and aligned with the rivet.
- Do not over-compress the post, as this will deform or crush the decorative cap.
Fabric-Specific Handling
The material dictates how you prepare the rivet hole:
- Always use a hole punch for a clean, defined cut so the rivet can sit neatly against it.
- Use an awl to gently pry between the threads instead of cutting them. This preserves the fabric's integrity and strength.
- For thick materials, it is advisable to punch the layers separately to ensure the durability and effectiveness of your punch tool.
- When dealing with multiple layers, select a longer post length. Moreover, always size up if you are unsure.
Tool Selection for Efficiency
Match the rivet setting tool to the project's scope:
- A manual hammer and setter tool is usually sufficient for small projects.
- A Pop Rivet Gun is recommended for better consistency and less effort for medium projects.
- Use a cordless rivet gun or a rivet press for professional work. It will save you significant time and reduce hand fatigue.
6. Troubleshooting Common Problems in Rivet Guns on Fabric
Rivet Will Not Set Properly
Problem
The rivet will not set properly.
Cause
The rivet post is too long or too short for the material thickness.
Solution
You must select the correct rivet size. You accurately measure the fabric thickness. Ensure the cap is securely attached to the post before proceeding with the setting.
Cordless Rivet Gun Issues
Weak Setting Force
Cause
Low battery charge is the issue. The motor does not receive enough current. The cause could also be a low power setting on the tool itself. You might have internal mechanical wear. This prevents the jaws from gripping the mandrel securely. It also stops the tool from pulling the mandrel with sufficient tension.
Solution: Increase the power setting on the tool if it is adjustable. Always check the battery charge level first. Subsequently, ensure the jaws are clean. They must grip the mandrel properly.
Mandrel Jams
Cause
Mandrel jams happen when spent rivet mandrels overfill the collection chamber. They can also occur if you use the wrong mandrel size. Alternatively, a broken piece of the mandrel tip gets stuck in the jaw mechanism.
Solution
You must clear the collection chamber regularly. This prevents physical blockage. Also, use the correct mandrel size. It should be compatible with both the rivet and the nosepiece. If a jam occurs, you inspect the nosepiece and jaw assembly.
7. How to remove and replace rivets on fabric?>
Removal Techniques
First, you need to understand that rivets are meant to be permanent.
- Carefully cut the rivet out with sharp tools. Snips or pliers can cut the cap.
- Drill out the centre (for metal rivets). Use a drill bit slightly larger than the rivet post. Drill slowly.
- Use the rivet removal tool for cleaner extraction.
Replacing Fabric After Removing A Rivet
Then, you should replace the rivet and fix the damage.
- Patch the hole with fabric and interfacing. Use a small patch on the back.
- Trim the patch closely to the project.
- Install a larger rivet, snap, or button to cover the repair.
- Consider decorative embellishment to hide damage.
8. Maintenance and Rivet Gun Tool Care
First, keep your hand tools sharp.
- Keep hole punch bits sharp. Punching on a soft surface helps.
- Replace worn plastic anvil beds.
- Clean the pop rivet gun mechanism regularly. Remove debris.
- Oil moving parts according to the manufacturer's instructions.
- Store tools in a dry location.
Cordless Rivet Gun Care
Then, you should care for your battery tool.
- Clean the mandrel collection chamber after each use. This prevents jamming.
- Charge batteries properly. You should avoid overcharging
- Store batteries at room temperature.
- Lubricate the nose piece periodically.
- Check for wear on mandrel jaws.
Rivet Storage
Finally, make sure to organise your hardware.
- Organise by size and type.
- Keep separated to prevent mixing.
- Store in airtight containers to prevent tarnishing. Humidity is the enemy.
- Label containers clearly.
9. Conclusion
Finally, you have learnt how to use a rivet gun on fabric. We explicitly narrated the basic concepts and advanced techniques for using a rivet gun, including the different types of rivet guns for fabric protection. Also, do not forget to apply our troubleshooting tips if you face any issues.
10. FAQs
What size rivet should I use for my fabric work?
Select rivets depending on your fabric thickness. For most bags with standard interfacing, use an 8-9mm cap diameter and 6-8mm post length. The length of the post must be 3-5mm longer than the compressed fabric thickness. For thicker projects involving the addition of padded stabilisers, use 8mm posts; for thinner materials with fusible fleece, use rivets 6mm in diameter or smaller.
Is it possible to use a rivet gun on thin fabrics like cotton or silk?
Rivet guns can be used on 2-4mm thick fabrics, including canvas, denim, leather, and heavy cotton. Clothes that are less than 2mm are usually too fragile to have rivets and can tear. For lighter materials, consider hotfix rhinestones, sew-on snaps, or other fasteners.
What's the difference between a pop rivet gun and a manual rivet setter?
A pop rivet gun incorporates a spring-loading system that applies the pin through a blind/pop rivet to snap off and form a fastening. A manual rivet setter requires you to hammer the rivet cap onto the post using an anvil and a setter. Pop rivet guns are quicker and can be used on leather strapping. Manual setters offer greater control and are cheaper to use for beginners..
How do I prevent my rivets from becoming loose?
Note: Ensure you use the correct rivet size. The post length should not exceed the fabric length by more than3-5mm, allowing for the rivets. To mushroom, hit the rivets hard with 1-2 solid hits instead of several light hits. Place the setter on a firm surface at counter height, keeping it straight and near the base. Ensure the rivet cap clips onto the post completely before attaching.
Can I remove a rivet if I make a mistake, and how do I fix the hole?
The rivets are made permanent, making them hard to remove. They can be cut out with sharp objects or a hole drilled through the middle, but this may cause irreversible damage to the fabric. To fix the hole, one should patch it from the inside with fabric and interfacing cut to fit snugly, and then place a larger rivet, decorative snap, or button over the patch to cover the hole.

