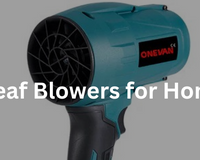
This question has gained popularity on platforms like Quora, reflecting a growing interest in DIY solutions for achieving cordless convenience. The desire for untethered operation enhanced maneuverability and expanded reach drives individuals to explore the feasibility of converting their existing corded leaf blowers.
1. Feasibility of Converting a Corded Leaf Blower to Cordless
You are dreaming about a cordless leaf blower but is stuck with a corded blower? It's not as simple as just swapping out a few metal parts, unfortunately. Let’s figure out the potential challenges and realities of this DIY project so you can decide wisely.
The Technical Hurdles
Power Problems: Corded blowers run on steady AC power, like a marathon runner with a constant energy supply. Cordless ones use batteries, which are more like sprinters – powerful, but with limited stamina. Finding a battery that provides equivalent power to your corded blower is challenging and can be expensive.
Most corded blowers have brushed motors designed for the smooth flow of AC power. Connecting them to a battery with fluctuating voltage is problematic, similar to using the wrong type of fuel in a car – it just doesn't work effectively. Hook them up to a battery with its fluctuating voltage, and it's like trying to run a diesel car on gasoline - not a good mix. You might need a brushless motor instead, which can handle voltage fluctuations and is generally more efficient.
Is It Even Practical?
DIY Know-How: This isn't just plugging in a new lamp. Think of complex wiring, potential soldering, and make sure the voltage is just right so you don't fry anything. You'll need some solid electrical skills and confidence with tools.
Finding the Right Parts: It's something like trying to find matching shoes for an odd-sized foot. You need a compatible battery, definitely a new motor, and a voltage regulator. All these need to fit the power needs of your blower and physically squeeze them into the existing housing.
Is it possible to make a corded leaf blower operational without a cord? Although technically feasible, this is a complex modification, not a simple swap. You should take it if you feel up to the challenge and the possible payoff is rewarding. But maybe think about getting a battery blower for those searching for an easy and fast answer.
2. How to Convert a Corded Leaf Blower to Cordless?
So you are ready to roll up your sleeves and find out to read the extract of this conversation. Remember, safety is important – always disconnect the power before you start tinkering!
Step 1: Gather Materials and ToolsThis isn't a trip to the corner store; you'll need specific parts:
- Battery Pack: This is your new power source. The amp-hour (Ah) rating determines how long it will run.. If you're making a swap, the voltage needs to match that of your previous motor or the new one you're installing. At present, lithium-ion batteries are the popular choice for power tools.
- Battery Charger: Obviously, you need to put some juice in it. Make sure it's compatible with your chosen battery.
- Connectors: These link the battery to the motor. You might need spade connectors, bullet connectors, or even XT60s depending on the setup. Get the right gauge for the current your motor draws.
- Wiring: Some sturdy wire to connect everything. Again, gauge matters – too thin and it'll heat up, too thick and it'll be a pain to work with.
- Voltage Regulator (Maybe): If your new battery's voltage doesn't perfectly match the old motor, this steps it down to prevent frying things.
- Switch: A simple on/off switch, unless your old one can be reused.
- Mounting Hardware: Straps, brackets, or whatever you'll use to securely attach the battery.
- Heat Shrink Tubing: Insulates exposed connections for safety.
- Optional:
- Brushless Motor: You may need to replace the motor if your old one isn't compatible with battery power.
- 3D-Printed Parts: For custom battery mounts, etc., if needed.
Tools You'll Need:
- Screwdrivers (various types, likely Phillips and flathead)
- Wire Cutters/Strippers
- Soldering Iron & Solder (if making permanent connections)
- Multimeter (to check voltage/continuity)
- Drill & Bits (for mounting, maybe)
- Heat Gun (for heat shrink tubing)
- Safety Glasses & Gloves
- Unplug It! Seriously, don't skip this.
- Open the Housing: This varies by model. Look for screws, clips, or hidden latches. Take photos as you go, so you remember how it all fits back together.
- Identify Components: Locate the motor, switch, and where the power cord is connected.
- Remove the Cord: Cut it near the entry point, leaving enough wire to work with if needed.
- Connect the Battery:
- Positive (+) battery terminal to the motor's positive input.
- Negative (-) battery terminal to the motor's negative input.
- If using a voltage regulator, wire it between the battery and motor, following its instructions.
- Connect the switch in line with the positive wire, so it controls power to the motor.
- Solder connections for reliability, then cover with heat shrink tubing.
- Use a multimeter to verify all connections before powering on.
- Placement: Ideally, near the motor for short wire runs, but balance is key. Don't make it top-heavy.
- Mounting: Get creative! Straps, brackets, even 3D-printed holders if you're fancy. Ensure it is securely fastened – a loose battery can be hazardous during operation.
- Weight Distribution: Aim for the blower to feel balanced in your hand. You might need to adjust the battery's position or add counterweights.
- Short Bursts First: Don't just hold the trigger down. Test in short bursts to make sure nothing's overheating or smoking.
- Check for Issues:
- Motor not spinning? Check connections, voltage, and switch.
- Weak airflow? Battery might be low, or the motor's struggling.
- Sparks or smoke? Immediately disconnect the battery and investigate!

Tips and Tricks for Effective Conversion
- Safety First: Don't work on live circuits. Use the right tools and protective gear.
- Plan Ahead: Sketch out your wiring diagram before you start cutting and soldering.
- Match Components: Battery, motor, and wiring should all be rated for the same current/voltage.
- Keep it Clean: Tidy wiring prevents shorts and makes troubleshooting easier.
- Test Thoroughly: Don't assume it'll work perfectly the first time. Be patient and methodical.
- Regular Checks: You must check wiring and connections.
- Battery Care: Follow the manufacturer's charging and storage recommendations given in the manual.
- Motor Maintenance: If you’ve replaced the motor, follow its specific maintenance guidelines.
Keep in mind this is a DIY project, so things may not operate perfectly well. By putting thought into your planning and applying some energy, you can renew your old leaf blower and take pleasure in the independence cordless operation brings.
3. Disadvantages of Converting a Corded Leaf Blower to Cordless
Before you grab your toolbox and start tearing apart corded leaf blowers, let's have a reality check. Converting it to cordless isn't as smooth as cutting a cake. Here's the lowdown on the potential drawbacks you might face.
Power and Runtime: A Trade-Off- Less Oomph: Batteries, even the good ones, just can't match the raw power of a corded blower plugged into the wall. Expect a noticeable drop in blowing force, especially for tougher jobs like wet leaves or heavy debris.
- Battery Blues: Say goodbye to those marathon leaf-clearing sessions. Batteries have limited juice, so you'll be stopping to recharge more often. And as they age, that runtime gets even shorter.
- Shock Hazard: Tinkering with electrical wiring is nothing to downplay. If you make one misstep, you could experience a lousy shock or possibly something worse. If your skills are less than 100% reliable, this might not be your appropriate DIY project.
- Things Could Get Hot: Batteries and motors generate much heat, primarily when they work hard. If the conversion isn’t practical, there’s a risk of overheating components, which could lead to injury or fire.
- Wear and Tear: All those modifications put mechanical stress on your blower. Parts might wear out faster, and repairs could become complicated since the blower is no longer in its original configuration.
- Maintenance Headaches: Keeping everything running smoothly might require more attention and know-how than your original corded blower.
- Parts Ain't Cheap: Batteries, motors, and all the bits and bobs add up. It's easy to spend a surprising amount on this project.
- New vs. Converted: Do the math. Sometimes, buying a brand-new cordless blower ends up being more cost-effective in the long run.
- Extra Weight: Batteries are heavy, no way around it. This adds bulk to your blower, making it more strenuous to use, especially for extended periods.
- Tipping the Scales: Attaching the battery might throw off the blower's balance. This can affect handling and make it feel less comfortable to use
4. Benefits of Purchasing a Cordless Leaf Blower

Portability
Imagine the freedom! You can say goodbye to tangled cords spread across your yard and the frustration of being tied to an outlet. A cordless leaf blower allows you to investigate every part of your yard, collecting leaves from flower beds, under bushes, and along fences without having any boundaries. It's similar to owning a superpower – the power to clean up anywhere you choose, whenever you wish.
Lightweight
Fatigue in the arms and sore backs are now history. Cordless blowers' feather-light design is a hallmark, helping you move about your yard smoothly without the burden of weight. Individuals with limited mobility or strength can still efficiently handle their leaf-clearing tasks.
Low Maintenance
Say farewell to the sloppy gas and oil refills that come with traditional blowers. Cordless models are quite easy to maintain. All you need to do is connect the battery to charge, and you can get going. You can say goodbye to the hassles of pull cords and worries about entangled wires. This is a pure and convenient experience.
Eco-friendly
Do your part for the planet. Blowers that run sans cords are powered by clean, rechargeable batteries, which cut down harmful emissions and your carbon footprint. This is a small yet effective way to contribute to a healthier ecosystem.
Quiet Operation
Maintain harmony with your neighbors and defend your hearing. Blowers without cords are far quieter than gas-powered alternatives. You can have a relaxing morning outside doing yard work that won’t bother anyone's slumber or generate noise complaints.
Ease of Use
We're past the wrestling days with recalcitrant pull cords and the struggles with complex settings. Cordless blowers are really convenient to use, usually featuring a simple push-button start. It’s so straightforward that even a kid can use it (with adult oversight, of course!).
Versatility
A cordless leaf blower is far more than only a leaf blower. Various models feature bonus attachments that change them into flexible equipment for various yard jobs. Handle everything from sucking up debris to mulching your garden beds and removing light snow from your driveway – with one handy tool.
5. Cordless Leaf Blowers in the ONEVAN You Can Consider
1. ONEVAN 2-in-1 Handheld Foldable Cordless Blower/Vacuum
Perfect for: Tight spaces, versatility, and easy storage.
This small and foldable cordless blower features a 3500W motor and a max wind speed of 98m/s, making it perfect for patios, decks, and garages while also sucking up debris. Its adjustable angle alongside 3-speed settings enhances the flexibility for multiple tasks, and its foldable design simplifies storage.
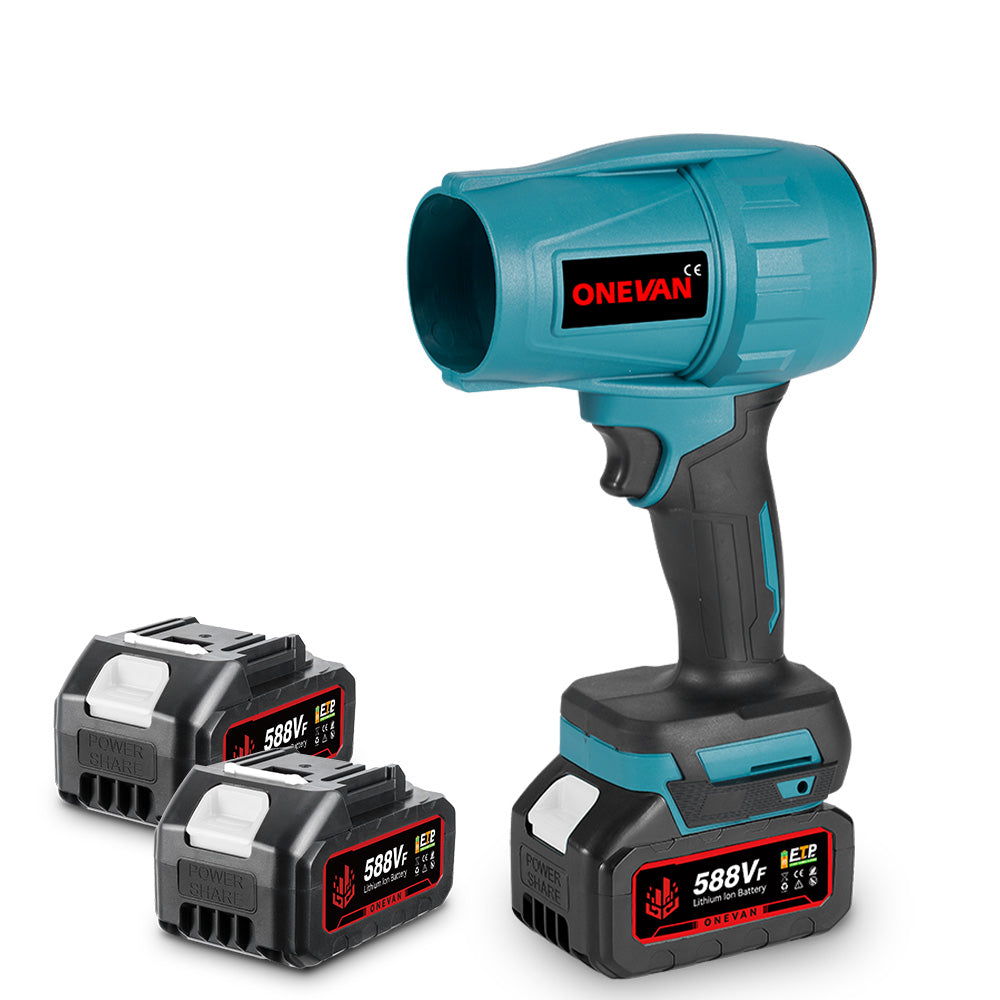
2. ONEVAN High Pressure Cordless Garden Hairdryer
Perfect for: Tackling tough debris and cleaning hard-to-reach areas.
This strong blower features a 4500W motor and an excellent max wind speed of 150m/s, quickly clearing wet leaves, heavy debris, and dust from hard-to-reach places. Its design for ergonomics and the absence of a cord make it a delight to work with for an extended time.
3. ONEVAN 6-speed Adjustable Cordless Electric Blower
Perfect for: Everyday leaf-blowing tasks with customizable power.
This flexible blower delivers six changeable speeds, letting you adjust the airflow to fit your job. Its 2000W motor with a 6.9m/min air volume gives sufficient power for most yard chores. Lightweight and straightforward to manage, it's perfect for keeping your yard clean in autumn. It is also compatible with batteries from Makita 18V.
4. ONEVAN 5500W Brushless Cordless 5-Speed Snow/Leaf Blower
Perfect for: Heavy-duty leaf and snow removal.
This stronghold is intended for dealing with even the most difficult tasks. With a brushless motor, it delivers superior power and endurance, achieving a max output of 5500W at a wind speed of 180 m/s. Flexibility for leaf and snow removal is available through the 5-speed settings. Also, its minimal noise and vibration levels promise a cozy user experience.
5. ONEVAN 1000W Multifunction Inflator Vacuum Cordless Dust Blower
Perfect for: A wide range of cleaning and inflation tasks.
This convenient tool is a genuine multitasker. This tool not only blows and vacuums but also acts as an inflator with a maximum air velocity of 200m/s, perfect for cleaning electronics, inflating air mattresses, and carrying out many household tasks.
6. Conclusion
If you really love adventures and have some hidden engineering expertise, you should try converting a corded blower into a cordless leaf blower. However, it is not recommended for homeowners who want a quick and affordable solution to clear debris, leaves, and grass from their yards. They must go for battery blowers.
7. FAQs
1. Can I use any type of battery pack for converting my corded leaf blower to cordless?
Nope, not just any battery will do. You need one that matches the voltage of your motor (or the new one if you're swapping). Besides, the battery's 'amp-hours' (Ah) rating is also essential. A higher Ah means it can run for a longer time. Right now, lithium-ion batteries are the leading choice for power tools.
2. How to detect overheating in a modified cordless leaf blower?
Keep an eye (and nose) out for trouble. If the motor or battery gets too hot to touch comfortably, that's a bad sign. A burning smell is even worse – shut it off immediately! Strange noises or a sudden drop in power can also mean things are getting too toasty.
3. Can I still use the corded leaf blower with a power cord after converting it to cordless?
Probably not, unless you designed the conversion with that in mind. Most DIY mods make it either/or – cordless OR corded, not both. If you want that flexibility, it'll take extra planning and wiring.
4. What is the average cost of parts needed to convert a corded leaf blower to cordless?
The variation is significant depending on what you need. A quality battery is likely to cost $50-100 or more. If you are seeking a new motor or voltage regulator, that total has its effect, too. Realistically, you should expect to invest from $100 to $200 or even more on parts.
5. Are there professional services to convert corded leaf blowers to cordless?
They're rare. Most repair shops won't touch such a custom job. You might find a handyman or electrician willing to try, but it'll likely cost more than just buying a new cordless blower.


