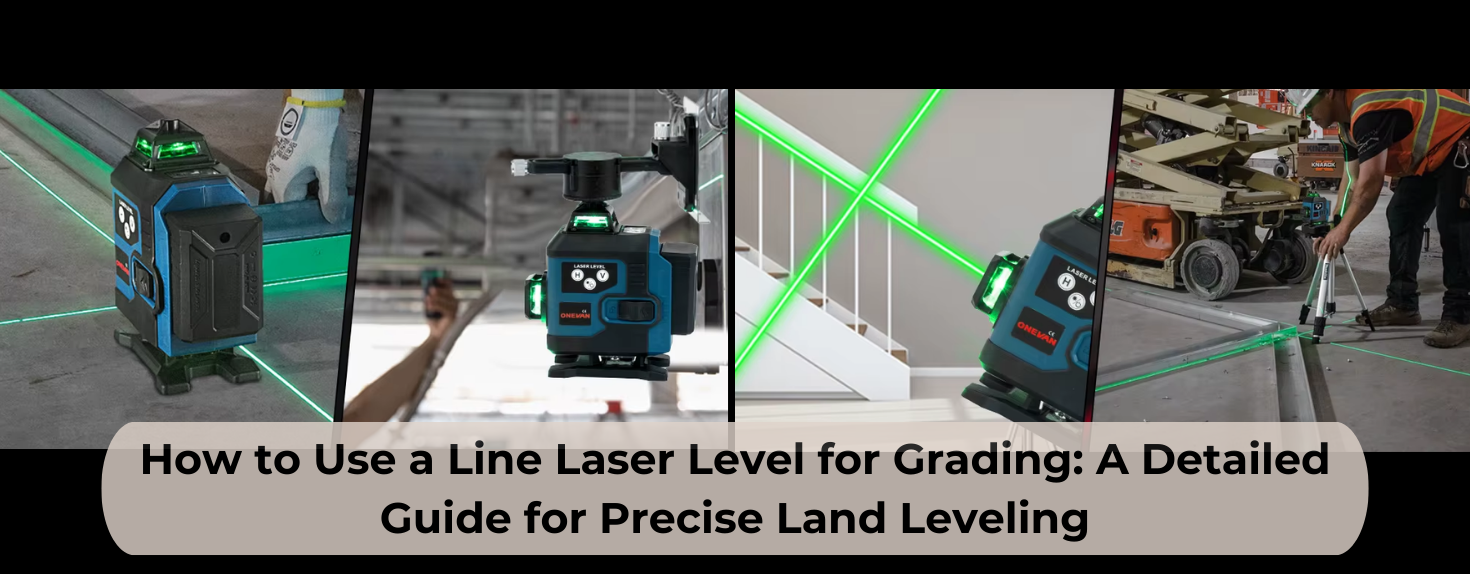
One of the most basic processes in any outdoor project is land grading, which involves shaping and flattening the soil to create a stable platform for construction, landscaping, drainage, or paving. Accurate grading helps ensure proper runoff, prevent erosion, and create a solid, stable base for buildings and surfaces. Professionals have been using conventional tools like a levelling rod and a transit level over the years. Nevertheless, with the introduction of laser levelling technology, the process has become groundbreaking, fast and accurate, as well as convenient to use, which was not possible before in grading jobs.
This step-by-step guide will teach you precisely how to use the line laser level to grade, how to configure the level, how to measure, mark and check. We will cover key features, step-by-step procedures, common challenges, and helpful tips to ensure your grading projects run smoothly.
1. Understanding Line Laser Level
A line laser level is a device that projects a narrow, straight laser line and can be mounted to mark precise reference points on a work area. It can be used as a uniform horizon line and therefore establish precise heights in a vast field. Whether setting the base under a building slab or levelling a driveway, the laser line helps ensure all points conform to the intended grade.
Many advanced models can generate vertical and cross lines, expanding their use in construction and alignment tasks. Devices that possess a large coverage area, particularly bright multi-line laser levels, can greatly ease the process of grading.
Key Features of Line Laser Levels
There are a few features that should be considered when picking up a laser level to use in graduation work:
Accuracy and Precision:
Accuracy in measurements is the most significant characteristic of any levelling tool. Good laser levels offer accuracies within millimeters over long distances, which gives you the assurance that your grade lines are right and uniform.
Self-Levelling Capability:
A self-levelling laser is self-adjusting, and it is designed to create absolutely horizontal lines, which saves time spent and manual recalibration of the laser is minimised in setting up the equipment.
Laser Visibility and Strength:
The clearer the laser, the more easily workable, particularly in the open. Tools with bright green laser lines are usually easier to see during the day than red ones.
Durability and Weatherproofing:
Construction environments are harsh, so laser levels feature robust, dust- and waterproof housings for durability.
Portability and Setup Ease:
The features of a laser level are able to make it easier to operate in any field conditions with the help of a detachable or adjustable tripod base, controllable weight, and easy-to-understand operating controls. Most of them are already being added to high-end products available in the market today, such as models of ONEVAN that are offered as the perfect product in a balanced way that can be used in the real world and at the same time with high precision performance.
How Line Laser Levels Work for Grading Tasks
In its simplest form, a laser level generates a line of light, or a series of lights, within a workspace of a steady elevation. The laser beam is detected by a receiver mounted on a grade rod, which indicates whether the point is higher, lower, or level relative to the reference as the reference elevation. This enables the graders and equipment operators to determine where the soil should be cut (removal) or where the soil should be added (filled) to achieve the intended slope. Also, a multi line laser level removes the manual estimation involved and saves a lot of time during the process of setting and checking the grades, particularly where large areas are involved.
Essential Specifications for Grading
The most significant specifications to be used in grading are:
Accuracy
The laser should provide close tolerances of measurement so as to achieve accurate grading. Professional-grade tools will provide the accuracy of between -2mm per 10m, which will mean that the decisions made by cut and fill decisions are based on factual statistics rather than on approximate figures.
Range
Large working range - preferably 30 m- 50 m or more will enable you to go long distances without having to reposition every now and then. This is of special concern in bigger plots of land where re-establishment of the laser may hinder the operations.
Durability and Weather Resistance
Outdoor grading subjects the equipment to dust, dirt, water and changes in temperature. A powerful IP rating, robust structure, and dustproofing technology of a device cover the inner parts and ensure the dependability of the operations in harsh conditions. As a case in point, certain levels of laser are internalised with IP54 waterproof and dustproof, which allows their work to be used not only indoors, such as interiors in buildings, but also outdoors, such as muddy grade areas.
2. Step-by-Step Guide to Using a Line Laser Level for Grading
Step 1: Setting Up the Line Laser Level on a Tripod
Selection of a Stable Location to be used
The first thing to do is to have a solid base in the middle of the land where you will be grading, which will be very stable and will provide access to the entirety of the land. When on loose soil or uneven ground, take care not to cause the tripod to move.
Fastening the Tripod and the Laser Level
Open up your tripod legs and set them in such a way that the bottom is well balanced and stable. Screw the laser level with the tripod head. Make sure nothing is in the way of the projected beam line in order to see the laser line across the working area. A few levelling kits have a complete tripod and the carrying case in them, making transport and set-up quite convenient.
Step 2: Powering On and Activating Self-Levelling Features
After the device has been attached, switch it on and enable the self-levelling. The self-levelling technology is used to automatically adjust the laser line so that it ensures the laser line remains within a few degrees of true level. This not only saves time, but it also makes your grading reference line a correct one at the very beginning.
Step 3: Establishing the Required Grading Slope
Define the required slope or elevation changes required in your project. By way of illustration, a slope of 2-5 per cent away from the building may be necessary to promote proper drainage. Set the starting and finishing elevations with grade stakes. Then check these with the reference line of your laser through the movement of a grade rod with a receiver attached over the work area.
Step 4: Using Grade Rods and Laser Receivers for Precision
Use Grade Rods to line Laser Lines
Move the grade receiver using the rod until the laser line is detected. When the receiver detects complete alignment with a beam, it will signal you (in most cases by sound or LED) to do so.
Measurements on Detectors of Cut and Fill Accuracy
The indicator on the grade rod where the laser falls will indicate how much soil must be removed (cut) or added (fill). As an illustration, when the point of receiving is higher than the grading line intended, the soil should be cut. When it is less, then you should add soil.
This technique helps achieve uniform site elevation according to the desired grading plan.
Step 5: Monitoring and Marking Cut and Fill Areas
Mark each point as you go. Colour flags, spray paint, or labeled stakes are good indicators of an area that requires a cut or fill correction. This visual mapping is useful in helping the machine operators determine easily where the earth has to be moved, and prevents expensive errors. To give the site a professional finish, it is important that these markings show similar heights throughout.
Step 6: Continuous Adjustment and Verification During Earthmoving
Earthmoving machines like the grader, bulldozer, or skid steer will form the land, as you have marked. Make it a habit to periodically check spots using your laser receiver during earthmoving. Compaction and shifting of soils can easily modify the surface elevation, and checking often allows accuracy to be maintained.
3. Common Issues When Using Line Laser Levels on Grading Projects
Dealing with Visibility Challenges in Bright Light
Even bright laser lines may be hard to see in the daytime sunshine. To overcome this:
- Use a powerful laser with high visibility.
- Use a sensitive laser receiver that can sense beams which are farther than visual range.
- Angle to work when the sun is not so bright in the early-morning hours or during the late afternoon.
Handling Uneven or Sloping Terrain Problems
When the ground is very uneven, the base of your tripod may not be steady enough to rely upon to stabilise it properly. In such cases:
- Move the tripod to more level ground.
- Stabilising accessories/levelling feet.
- Ascertaining self-levelling preparation prior to measurement.
Ensuring Battery Life and Power Efficiency
Laser levelling of big sites may be time-consuming. To avoid both overcharged and discharged batteries, it is always a good idea to have fully charged batteries and carry power packs as an option. Long runtime can be assisted by many professional systems with high-capacity rechargeable batteries.
Maintaining Calibration and Accuracy Over Time
Accidental or heavy use may cause a laser level to be knocked out of range. Regularly test and calibrate the device to maintain accuracy, and when not in use, store the device in a protective case. Regular maintenance increases service performance and stability.
4. Conclusion
Using a ONEVAN Line Laser Level improves accuracy and makes grading more efficient. Using the method of showing a perfectly sloped line of reference and using grade rods and receivers helps you to learn the exact quantities to cut and fill, to establish uniform elevations, and to finish intricate grade work successfully without hesitation.
Choose either a basic line projector or a professional model that has numerous bright horizontal and vertical lines; the investment can be justified. Combination models with high precision and long-lasting power packs provide reliable performance on job sites. With the right ONEVAN line laser level, careful preparation, and systematic measurement, you can achieve precise and efficient grading results.
5. FAQs
Can Line Laser Levels Be Used to Hang Pictures?
Yes, Many line laser levels create ideal horizontal or vertical reference lines, with which it is so easy to adjust pictures and mirrors.
Can Line Laser Levels Be Used Outdoors?
Absolutely. Models that offer extra visibility and are resistant to weather outdoors and ready to be used tend to be effective in the daytime and in open places.
Can Line Laser Levels Be Used for Floor Tiling?
Yes, projecting straight reference lines speeds up layout and helps maintain accurate tile alignment.
Can Line Laser Levels Be Used for Both Residential and Commercial Grading?
Yes, on small projects in the yard and on large construction sites, the leveling system ensures high-quality results.
What Is the Typical Working Range Needed for Grading Tasks?
A working range of 30–50 meters is adequate for most grading jobs. Sites larger in size might be able to use a longer range or optional receivers that can detect longer distances.