You need an effective solution for removing snow from your driveway or walkway. A snow thrower provides significant benefits over a traditional shovel. For instance, a snow thrower moves a large volume of snow quickly with minimal physical effort. Using a snow thrower saves you considerable time and effort compared to manual clearing.
Then, it is important to understand the advantages of modern cordless brushless technology. This design eliminates the need for fuel, oil, or restrictive power cords. Consequently, you gain complete freedom of movement. You also enjoy easy operation across your entire property. Moreover, the brushless motor delivers powerful, consistent performance while requiring minimal maintenance. This ensures efficient, reliable snow removal throughout the winter season.
1. Understanding Your Snow Thrower Model
You will find snow removal tools categorized mainly into three types: gas-powered, corded electric, and cordless electric. Each type offers a distinct method for clearing snow. You need to identify your spe cific model to understand its correct operation and maintenance requirements.
Gas Powered Snow Shovels
You might prefer not to use gas-powered models if you value simplicity. These machines use an internal combustion engine. This provides the greatest power throwing distance for heavy, deep snow. However, you will need to handle fuel, manage oil changes, and perform regular engine maintenance. Furthermore, gas throwers produce considerable noise and exhaust fumes.
Corded Snow Shovels
In turn, consider corded electric models if your workspace is small and close to an outdoor power outlet. These models are typically lighter and involve less routine maintenance than gas-powered models. The primary limitation you face is the range of motion. You must constantly manage a trailing extension cord. This restricts how far you can move from the power source. This also creates a potential tripping hazard.
Cordless Snow Shovels
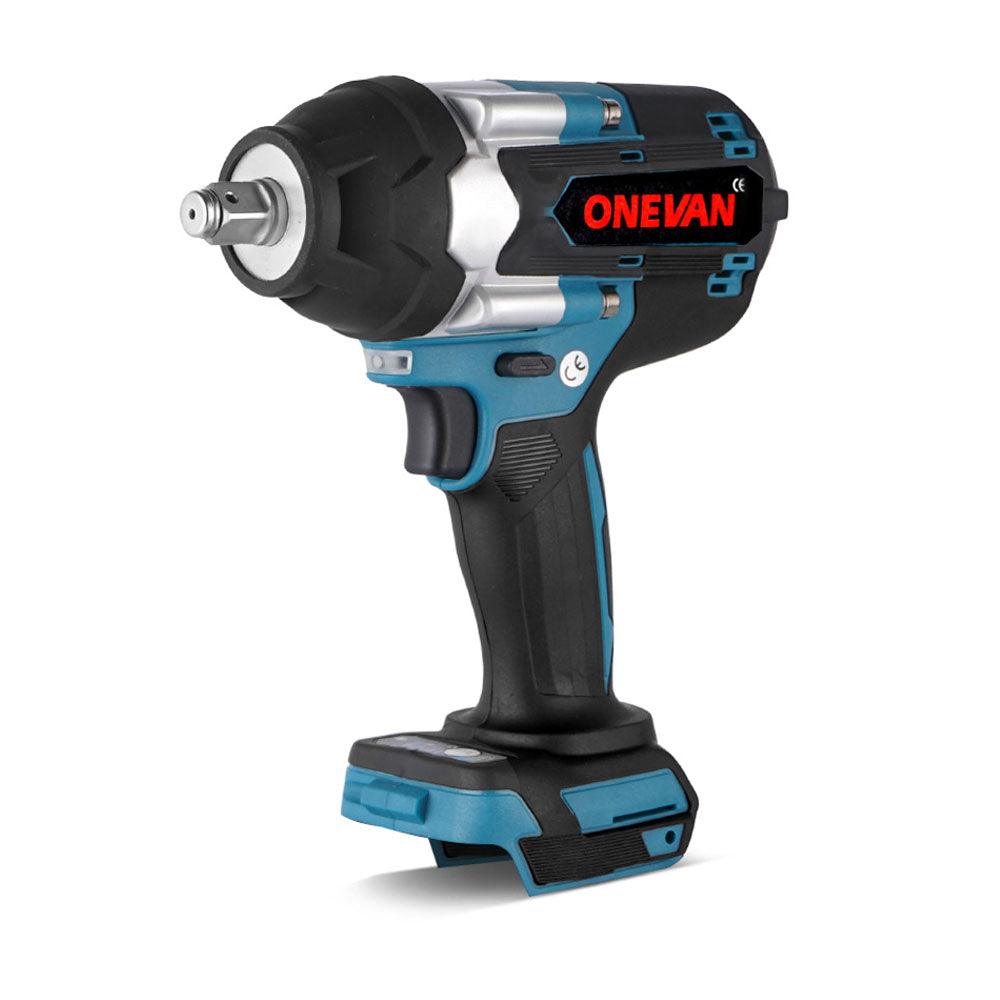
You prefer a cordless snow shovel because it merges the power of electric operation with the freedom of movement. These models run on rechargeable lithium-ion batteries. Consequently, you can clear snow anywhere without being tethered to an outlet. Cordless snow shovels, especially those with brushless motors, offer a balance of power, portability, and low maintenance. This makes them the most convenient option for most residential properties. You will focus on this specific cordless type for the rest of this guide.
The ONEVAN Brushless Cordless Snow Shovels are prime examples of this technology. It has an adjustable snowing-throwing direction system. You can easily control the discharge with three angles: Left 30°, Center, and Right 30°.
2. Before You Start the Cordless Snow Thrower: Safety Precautions and Preparations
You must complete several preliminary steps before you engage the snow thrower. These steps ensure your safety. They also protect the equipment. They also guarantee an efficient cleaning process. Safety must always be your first priority.
Read the User Manual and Safety Instructions
First, read the user manual for your cordless snow thrower model. You cannot assume all machines operate identically. This manual details the correct assembly, operation, battery charging protocol, and any unique safety features of your device. You understand that ignoring these instructions can lead to serious injury and damage the equipment.
Wear Appropriate Winter and Safety Gear
Then, you should wear the correct safety clothing. You must protect your body from the cold and from flying debris. Wear warm, non-slip boots to maintain a firm footing on snowy, icy surfaces. You must also wear safety glasses or goggles to protect your eyes from snow, ice, and small objects thrown through the discharge chute. You would rather wear bright colors so others can see you easily while you work.
Check Battery Condition and Charge Levels (Monitor via Digital Display)
The next step is to check the battery condition. A fully charged battery is essential for maximizing runtime performance. You should locate the digital display on the battery pack of the machine body. This indicates the current charge level. You must ensure the battery is securely locked into its compartment before starting any operation.
Inspect the Snow Thrower for Damage or Loose Parts
Furthermore, you need to visually inspect the machine. Check for any cracks in the plastic housing, especially around the snow drum and the auger. You should confirm that all bolts, nuts, and screws are tight. If you find any loose hardware, you must tighten it immediately. This prevents parts from separating during operation.
Clear the Area of Obstacles and Mark Boundaries
Finally, ensure the area you plan to clear is free of obstacles. Objects like door mats, toys, extension cords, and thin sticks can be picked up and thrown by the machine. This causes damage to the thrower and injures someone. Consequently, you should mark the edges of your driveway and walkways with reflective markers, particularly where they meet the lawn. This prevents the thrower from digging into the turf. You must establish a clear, safe operating zone.
3. Step-by-Step Guide on How to Use a Cordless Snow Thrower
Now that you have completed the necessary safety checks and preparations, you are ready to begin the snow removal process. This guide provides a detailed sequence of steps to ensure the safe and effective operation of your cordless snow shovel.
Step 1 – Set up and Adjust the Snow Thrower
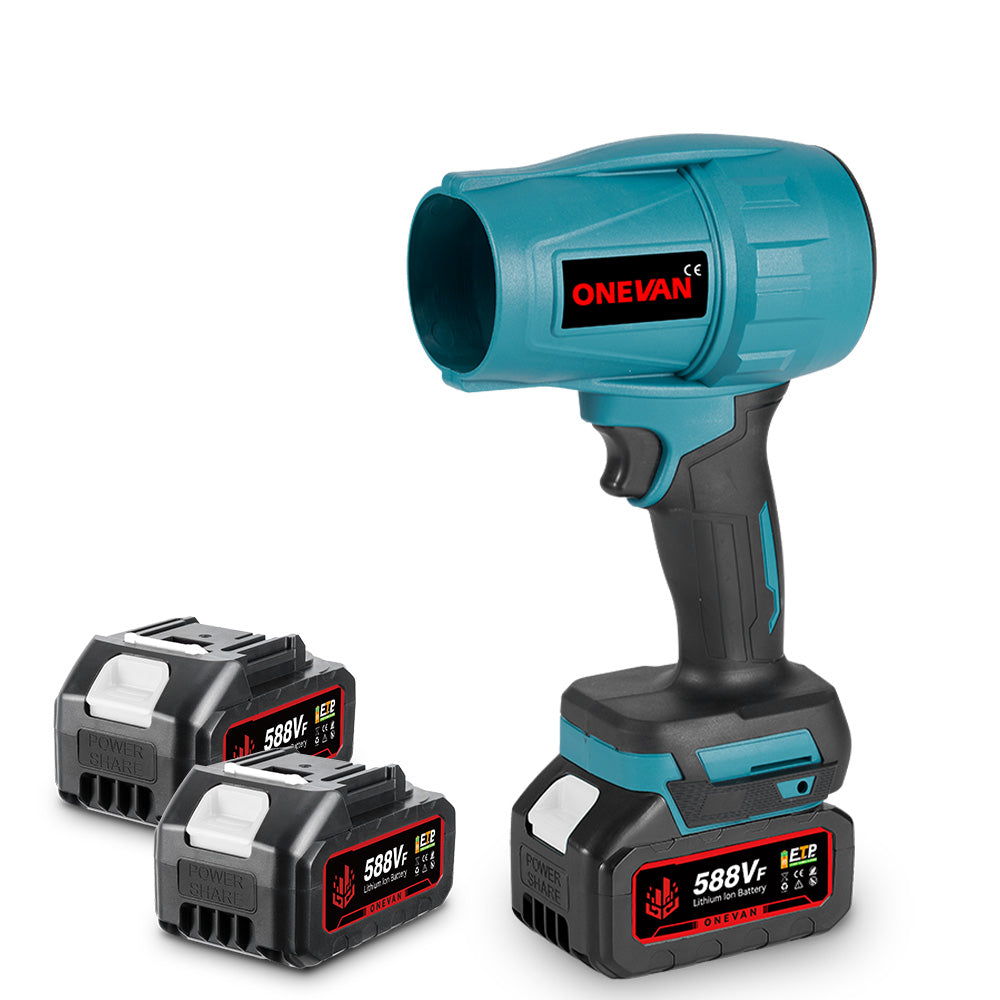
First, you need to prepare the machine for use. Many cordless models feature a foldable design for compact storage. The ONEVAN Foldable Handheld Snow Thrower features a foldable design for compact storage. You must carefully unfold the handle assembly and secure it in the operating position. You should adjust the handle height so you can stand comfortably and operate the machine with a slight bend in your arms. This minimizes physical strain on your back and shoulders.
Then, you should insert the fully charged lithium-ion battery into its designated port until you hear an audible click. This confirms the connection is secure. You must recheck the charge status on the digital display to ensure the battery is seated correctly and fully active. For models equipped with wheels, position them on the surface you are clearing. On paved hard surfaces, use the wheels to stabilize and glide the machine. Conversely, if your model allows for directional snow throwing, set the chute baffle to discharge snow into an area that is already cleared, where it will not obstruct future paths.
Step 2 – Starting the Cordless Snow Thrower
To begin operation, you must follow the correct starting sequence. This process is designed to prevent accidental startups. This prioritizes your safety. You will typically find a two-step activation system.
Next, you should engage the safety lock button, which is usually located near the handle grip. This button releases the main trigger lever. Immediately after, press and hold the main power trigger while continuing to hold the safety button for a moment. This engages the motor. You can then release the safety lock, maintaining only the main trigger to keep the snow drum spinning. You would rather start the motor briefly in a cleared area to confirm the machine runs smoothly before pushing it into the snow.
Step 3 – Effective Snow Removal Techniques
Once the machine is running, you must employ efficient techniques to maximize the battery runtime and clear the area quickly. You would rather clear in long, straight paths, moving back and forth in rows across the area. You should slightly overlap each cleared path. This guarantees complete snow removal and prevents leaving any snow behind.
Then, you should match your walking speed to the snow density depth. For light, fluffy snow, you can maintain a relatively quick, steady pace. For deeper, heavier, wet snow, you must slow your movement significantly. Consequently, you allow the snow drum motor more time to process the snow effectively without bogging down. Note that the clearing width of your model, such as the 12-inch width on the ONEVAN 12" Handheld Snow Thrower, will determine the size of the paths you take. You will use the full width of the snow drum to reduce the number of passes required. This significantly cuts the overall cleaning time.
Furthermore, you should adjust your technique based on the surface. On smooth surfaces like concrete or asphalt, you can run the thrower close to the ground to ensure maximum pickup. Meanwhile, if you are clearing gravel or an uneven surface, you must slightly lift the front of the unit and adjust the skid shoes (if present). This prevents the machine from throwing rocks, jamming the auger. You prefer to clear the area in layers when dealing with extremely deep snow. You should first skim the top layer, then make a second pass to remove the remainder.
Step 4 – Handling Snow Discharge
You must control where the snow is thrown to prevent damage and avoid having to move the same snow twice. You should adjust the throwing angle for your model before starting a path. You must direct the stream of snow away from buildings, vehicles, and especially windows.
In turn, you should always discharge snow downwind. This prevents the wind from blowing the snow back into your face onto the area you have already cleared. Discharge the snow at an appropriate distance from the edges of the area you are clearing. This ensures you do not create tall snow banks that could obstruct visibility for future movement. You must never direct the discharge path toward any person or pet. You need to remain aware of your surroundings. This ensures that the discharge zone is clear of pedestrians and vehicles at all times.
Step 5 – Managing Battery During Operation
You need to proactively manage your lithium-ion battery to ensure you finish the job without interruption. First, you should regularly monitor the battery life on the digital display during operation. Take a brief break and swap the battery when the charge drops below twenty percent. This is preferable to waiting for the power to die completely.
Then, you should implement usage patterns that extend battery runtime. Avoid constantly pressing the snow thrower deep into heavy drifts. This causes the motor to draw maximum power, quickly draining the battery. You prefer using a smooth, consistent pace. This keeps the power draw even. If your cordless thrower uses dual battery packs, you must swap them immediately upon depletion. When swapping, turn the machine off completely, remove the exhausted battery, and insert the fully charged one securely.
Step 6 – Finishing Up
Finally, make sure to follow the correct procedure for powering down the machine and securing the work area. The process of finishing up is just as important as the preparation.
To power down, First, release the main power trigger. Then, wait for the snow drum to stop spinning completely. The machine should come to a complete stop within just a few seconds. Immediately after, you must remove the battery pack from the snow thrower. Removing the battery serves as a final safety lock. This prevents any accidental startup while the machine is stored and cleaned. You must also remove the safety key, if your model has one, and store it in a secure location. You should conduct a quick visual inspection to ensure no large debris chunks of ice remain lodged in the auger before moving the machine.
4. Tips for Maintaining Your Snow Thrower for Longer Use
Proper maintenance is crucial for ensuring your cordless snow thrower performs reliably season after season. You must dedicate a few minutes to maintenance after each use during off-season storage. This proactive care prevents costly repairs and extends the lifespan of your investment.
Cleaning the Snow Drum and Thrower After Use
First, clean the snow drum discharge chute immediately after you finish clearing snow. Snow ice can freeze onto the auger blades inside the chute. This causes imbalances and jams on the next use. You must remove the battery before attempting any cleaning. You should use a non-metal scraper stick to clear away all packed snow ice. You would rather clean the machine while it is still cold to prevent the snow from melting than refreezing. This forms a thick, hard layer of ice.
Periodically Check and Tighten Hardware
Then check all visible bolts, nuts, and screws on the snow thrower. Vibrations during operation can cause hardware to loosen over time. You must pay particular attention to the handle assembly connection points and the housing fasteners. Loose hardware can lead to premature component failure and create a safety hazard during use. Consequently, you must use the appropriate wrench or screwdriver to tighten any components that feel loose. This ensures the machine's structural integrity remains sound.
Lubricating Moving Parts and Protecting from Rust
Next, you must protect the metal components of your snow thrower from rust corrosion. Although cordless models have fewer moving parts than gas models, certain elements, such as wheel axles and folding hinges, can benefit from lubrication. You should apply a light coat of silicone spray-rust inhibiting lubricant to any bare metal surfaces that are exposed to moisture. Furthermore, you would rather focus on the areas of the house that are constantly exposed to snow and water. This ensures smooth operation and prevents materials from seizing.
Battery Care: Charging, Storage, and Winterization
In addition, you need to follow specific protocols for lithium-ion battery care. This care is essential for maintaining optimal power longevity. You must always charge the battery immediately after use, rather than waiting until the next snowfall. This keeps the cells conditioned. However, for long-term storage, you would prefer to store the battery pack at a charge level between 40 and 60%. This is ideal for cell health. Consequently, you must remove the battery from the machine and store it separately in a cool, dry location indoors, away from freezing temperatures.
Storing the Snow Thrower in Cold Conditions and OffSeason
Finally, make sure to store the snow thrower properly both between uses and during the off-season. You should store the machine in a dry, covered area, such as a garage or shed, protected from rain and snow. You must clean the unit thoroughly before putting it into long-term storage. For compact storage, you can fold the handle assembly down. You must ensure the battery is removed and stored separately, as outlined above. This prevents self-discharge safety hazards. This complete preparation ensures the machine is ready to function perfectly when the next winter season arrives.
5. Troubleshooting Common Issues with a Cordless Snow Thrower
Despite the general reliability of cordless snow throwers, you may occasionally encounter operational issues. Knowing how to diagnose and address these common problems will help you minimize downtime and quickly resume snow clearing.
Snow Thrower Not Starting: Battery and Button Checks
First, you need to check the most common cause of a non-starting snow thrower: the power source. You must ensure the lithium-ion battery is fully charged and securely seated in its port. You should check the charge indicator on the machine's battery to confirm it shows sufficient power. If the battery is charged and properly connected, you must then verify that you are following the two-step starting procedure correctly. This includes pressing the safety lock button before engaging the main trigger. Furthermore, if your model has a safety key slot, examine it to ensure the key is fully inserted and activated.
Motor Performance Drops: Overheating and Obstruction Remediation
Then, you should address any sudden drop in motor performance or power output. This issue commonly results from two causes: the motor is struggling against an obstruction, or the unit is overheating. You must immediately release the trigger and disconnect the battery if the motor strain stops abruptly. You should then check the snow drum discharge chute for packed snow, ice, and foreign objects. Moreover, if you have been using the machine continuously for a long period in deep, heavy snow, the motor may have activated its thermal protection. Consequently, you must allow the unit to cool down for twenty minutes before attempting to restart it. This prevents damage to the internal components.
Inefficient Snow Throw or Blockage: Clearing the Drum and Discharge Path
Next, you must diagnose inefficient snow throwing. This usually means the snow is not traveling far, but is simply building up around the machine. This is almost always caused by a blockage in the snow drum or the discharge chute. After powering down the machine and removing the battery, you need to use the clearing tool, typically supplied with the unit, a non-metallic stick, to push out the blockage safely. You should never use your hands for this task. You would rather clear snow in shallower passes to avoid overwhelming the auger, especially when dealing with wet, heavy, slushy snow. This is more likely to cause clogs.
Handle or Wheels Stiff to Operate: Adjustments and Lubrication
In addition, you may find that the handle assembly wheels become stiff and difficult to adjust. This issue often occurs due to water freezing the moving parts or dirt accumulation. You should check the locking mechanisms on the handle assembly for any ice buildup. Apply a de-icing agent, then a small amount of warm water to thaw them. Subsequently, you must ensure the wheels are free of snow or ice. You would rather apply a silicone lubricant spray to the wheel axles' folding joints. This ensures smooth movement and prevents rust from developing.
Battery Discharging Quickly: Tips and When to Replace
Finally, make sure to identify why your battery may be discharging faster than expected. Rapid discharge often indicates using the machine at maximum effort in heavy snow or operating it in extremely cold conditions. This temporarily reduces battery capacity. You should slow your pace and take shallower passes, as outlined in the operation section. However, if the battery still provides significantly less runtime even after following all optimal usage charging tips, you must consider that the lithium-ion cells have reached the end of their useful lifespan. You need to replace the battery pack with a new one from the manufacturer to restore full power run capacity.
6. Conclusion
You now possess a comprehensive understanding of how to use your cordless snow thrower safely and effectively. From the crucial preliminary steps and safety checks to employing efficient clearing techniques, you are equipped to handle winter snowfall with confidence. The cordless, brushless technology provides you with unmatched convenience and mobility.
Moreover, you recognize that proactive maintenance, including regular cleaning and battery care, is not merely optional but essential for longevity. By following the troubleshooting guidance, you can quickly address common operational issues. Consequently, you can ensure your cordless snow shovel remains a reliable, high-performing tool, making snow removal a much quicker and easier task each winter.
7. FAQs
Can I use the cordless snow thrower on icy surfaces?
You should avoid using the cordless snow thrower directly on solid ice. The auger is designed to move snow, not to break up hard ice. Trying to force the machine over large patches of ice can damage the auger, overload the motor, and potentially break internal components. You would rather first break up the ice manually with an appropriate tool, use ice melt products before clearing the residual slush and broken pieces with the snow thrower.
Is it safe to use cordless snow throwers in wet or slushy conditions?
Yes, you can use cordless snow throwers in wet or slushy conditions, but you must exercise caution. Wet snow is much heavier than dry snow. This forces the motor to work harder, draining the battery faster. Consequently, you should operate the machine at a slower, more deliberate pace, taking shallower passes to prevent the discharge chute from clogging. You must also clean the snow drum chute immediately after use, as wet snow tends to freeze into hard, damaging ice when the machine sits idle.
How often should I charge and maintain the lithium-ion battery of cordless snow throwers?
You must follow a consistent charging routine for optimal battery health. You should always charge the battery immediately after each use, regardless of how much charge remains. This keeps the cells conditioned. For long-term maintenance, you would rather avoid storing the battery either fully charged or fully discharged. When storing the battery for the off-season, charge it to approximately 50% capacity and store it indoors in a cool, dry place.
Are cordless snow throwers suitable for elderly or physically limited users?
Yes, cordless snow throwers are an excellent choice for elderly, physically limited users. They are significantly lighter and easier to maneuver than large gas-powered models. The use of a brushless electric motor eliminates the need to pull starter cords and handle heavy fuel cans. Consequently, the reduced physical effort makes these devices highly suitable for individuals seeking an efficient, low-impact way to clear snow.
How noisy are cordless snow throwers compared to gas-powered models?
Cordless snow throwers are dramatically quieter than their gas powered counterparts. Gas-models often produce noise levels above 100 decibels. This requires hearing protection. Conversely, cordless electric models generally operate at noise levels similar to a standard conversation vacuum cleaner, usually around 70 to 85 decibels. You prefer using a cordless thrower because you can manage it early in the morning or late at night without disturbing your neighbors.